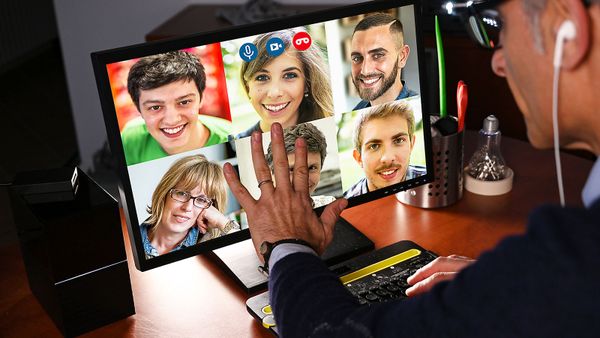
When movies first showed the future with video conferencing, it seemed like a distant dream. Now that technology is available in our everyday lives, webcams allows us to see and hear our family, friends and co-workers on the other side of the world in real time. There's no need for emoticons — you can see their emotions right there on the screen. If your computer doesn't come with a webcam, or you purchased a new one, it takes just a few moments to install a webcam onto your computer. All you need is a webcam, a computer with Microsoft Windows and an internet connection. Read the tips listed below and learn about how to connect a webcam to your computer using Windows.
- Connect your webcam to your computer. Many webcams connect to the computer through a USB port. The webcam that you purchase will either come with a separate USB cable or have a USB cable attached to the camera itself. Plug the USB cable into the USB port on your computer. If the computer is a desktop, the USB port will be located in the back and/or front of the system unit.
- Wait for your computer to detect the webcam. Because you have Windows installed on your computer, your computer will automatically detect that a new piece of hardware was connected to your USB port. A message will appear in the bottom right corner of your screen that reads, Setting up a device. A pop-up will then say that the device is installed and configured. (If no message appears, go to the Start button and select Camera.)
- Install the software to operate the camera. If your camera came with software to install on your computer, simply insert the disc that came with your webcam and follow the instructions provided to download the software. If it didn't come with a disc, you can test your webcam by using the Camera application.
Advertisement


